To make anything transparent in a photo, whether an object or the background, is very significant in various cases. Once you make anything transparent, you can blend the colors of your choice to make it even more catchy and attractive. Transparent backgrounds enhance the speed of web page loading. Due to this reason, most photographers have the query of how to make something transparent in Photoshop.
How to make an image transparent in Photoshop
Making an image or its part transparent in Photoshop isn’t that much difficult. A simple method is the usage of layers to make the image transparent. You can play with features like opacity, blending modes, layer masks, layer groups, etc.
With the help of Photoshop, we can make the image transparent through the following ways.
- Making the layers transparent
- Create the transparent selections in Photoshop
- Creating a transparent background
Making the layers transparent:
If you’re still confused about making the image transparent in Photoshop, learn how to make the layers transparent. After making the layer transparent, you can easily apply it to other images without worrying about the opacity and the background edges. Layers are also used for the touch-up of your photos.
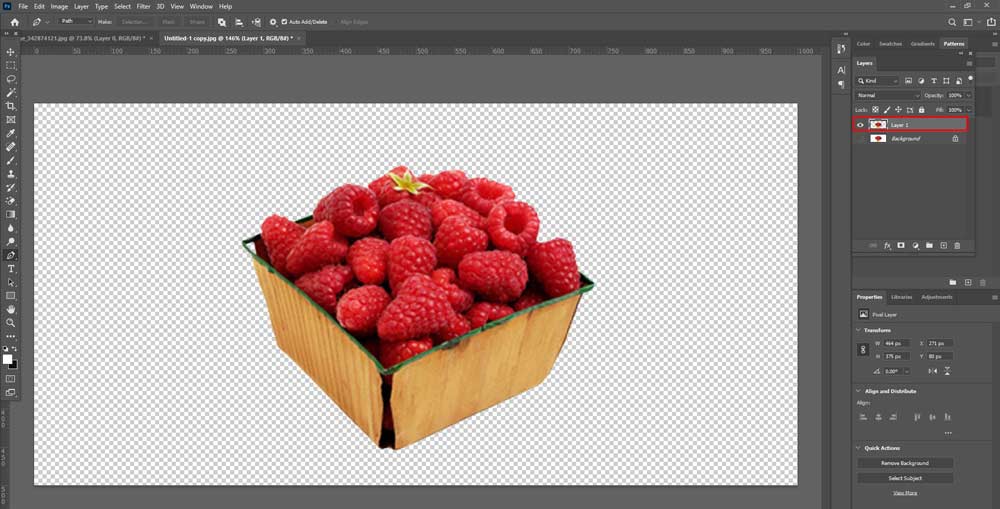
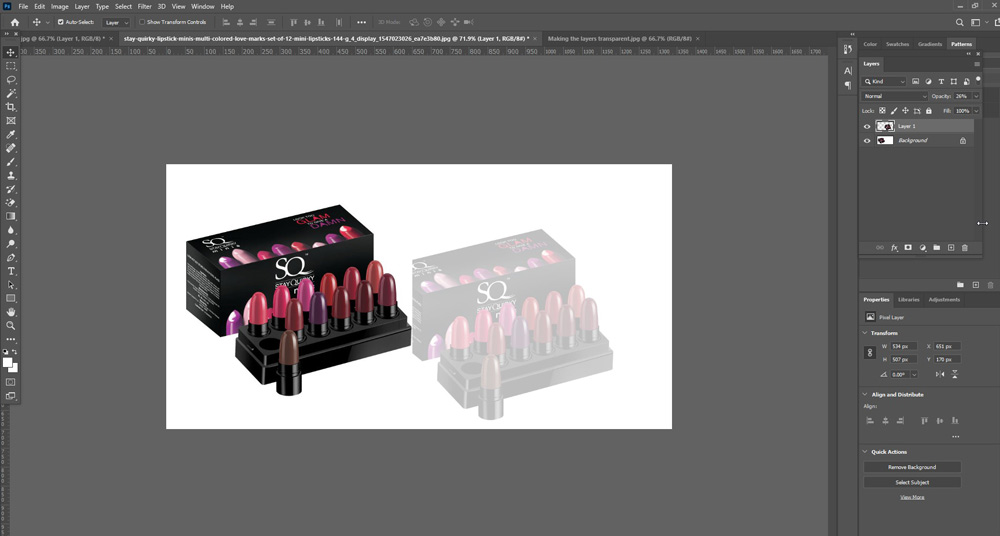
First, click on the layers tab after selecting the layer you want to make transparent. It will look like a folded page. A box will appear on the screen at the top of the layers. Select the opacity level from that box. Its default value will be set to 100%, but you can change it and make it as low as 0%. After setting the right opacity, save your image in the PNG file format to keep the changes and preserve transparency.
Creating fine selections in Photoshop:
You must make parts of the layer transparent if you want to combine or merge photos for your portfolio. For doing this, select the layer again, but the image under the layer must be transparent l. After that, select the area that needs to be altered. You can easily select that by using the selection tool.
Then, right-click and choose the command named copy and use it, copy the area. Then, delete the selected area by the Delete button. After that, paste the copied selection on a new layer and reduce the opacity of the coating after pasting.
Making a transparent background:
If you want to combine pictures or move the objects, you’ll need a transparent background. It becomes even more necessary when you want the focus of your subject or image to be transparent and opaque, or you want to move the subject of your image.
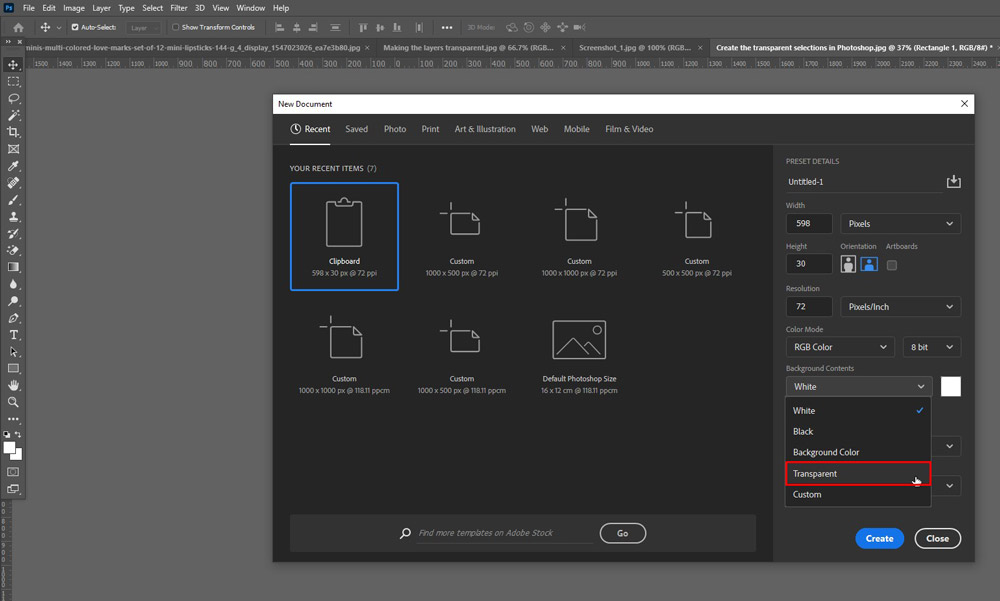
For doing this, open Photoshop and click on the file option and open new. Upon clicking, a new window will appear on the screen. Then, open the Background contents section and select transparency. After doing it transparency, click ok.
After clicking ok, go to the layers section. If you want to confirm whether the layer you made is transparent or not, look out for the grey and white checkered box. Then, add your image. After adding the image, you can remove any extra edges or extra elements. You can easily do so by using the eraser tool.
How to make an image Semi-transparent in Photoshop?
If you want to make an image semi-transparent using Photoshop, select the required picture. Open the format picture tab and then click recolour. After that option, a transparent option will appear. Click the picture and select the area you want to make transparent. You can also select any part from the whole picture to make it semi-transparent.
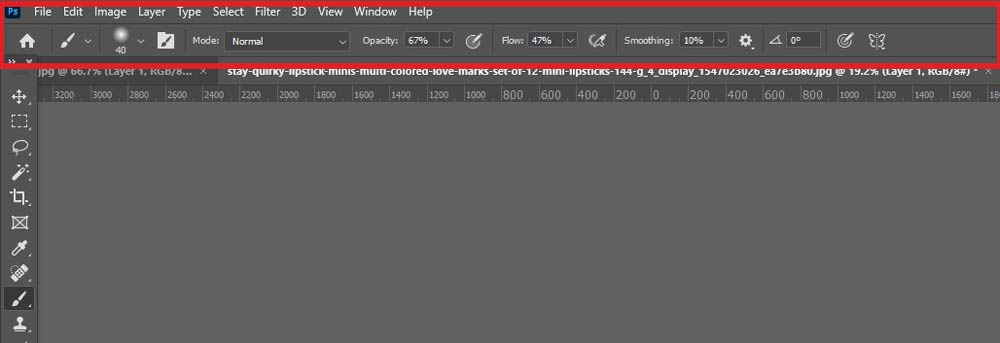
There’s another way through which you can make your image semi-transparent is by using a semi-transparent layer in Photoshop. You can use the blending option and set the opacity from 100% to 0%.
How to make the white background of an image transparent in Photoshop?
Following are the ways through which you can make the white background of your image transparent using Photoshop.
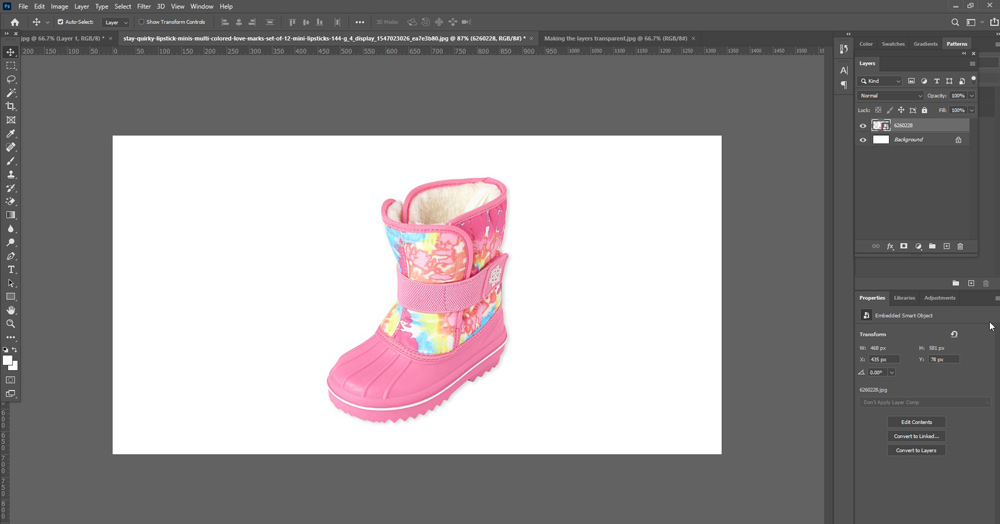
First, open an image with a white background in Photoshop either by copying, pasting, or importing it. Then, duplicate the layer because Photoshop doesn’t have the transparency of the duplicate layers. It helps to create a duplicate image to work. You can also delete the duplicate layer whenever you want. Then, use the selection tool and make a quick selection of the image. Then, apply the already made layer and delete the duplicate layer and the background.
After clicking ok, go to the layers section. If you want to confirm whether the layer you made is transparent or not, look out for the grey and white checkered box. Then, add your image. After adding the image, you can remove any extra edges or extra elements. You can easily do so by using the eraser tool.
How to save an image with a transparent background?
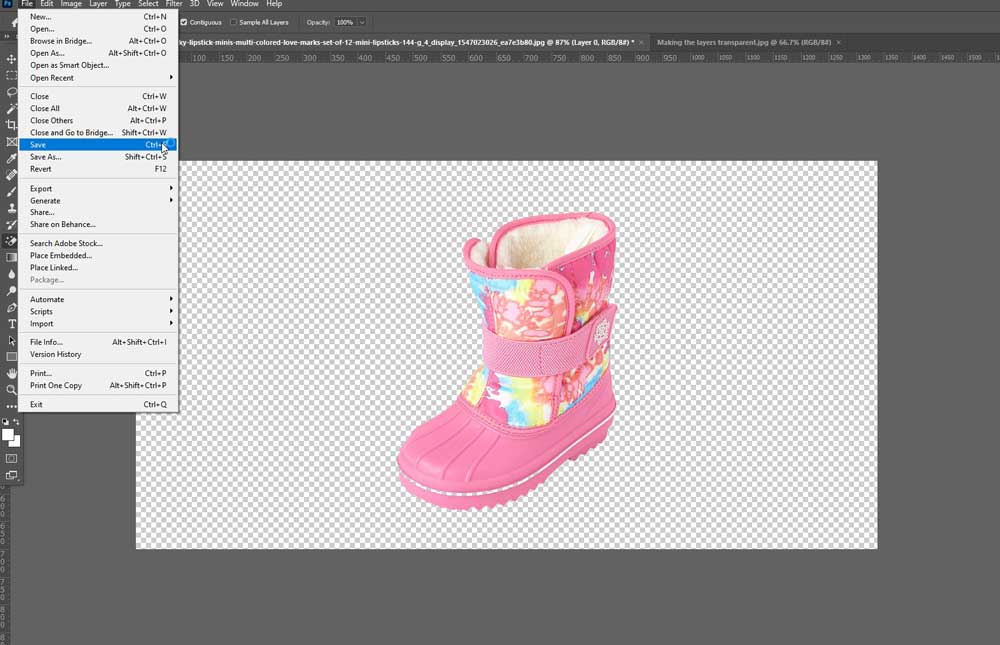
After understanding how to make something transparent in Photoshop, saving an image with a transparent background is the second most important question. If you want to save an image with a transparent background, you need to follow a few simple tricks. Put your photo on the transparent layer, drag it to the trash icon to delete the background layer. You can now save your image in any required format, i.e., JPEG, PNG, etc.
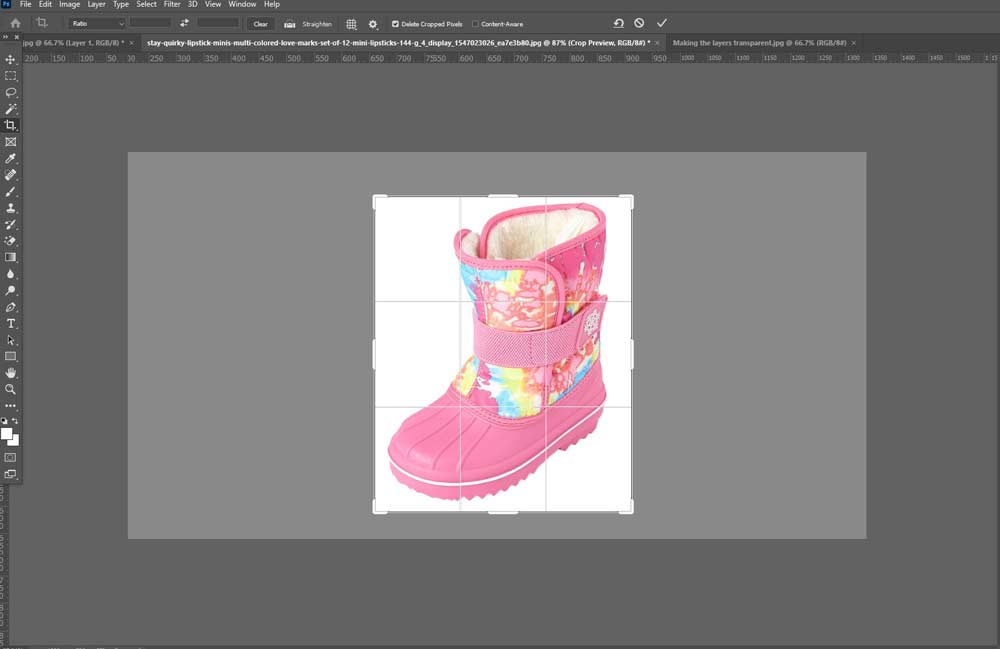
How to crop an image in Photoshop without background?
Cropping your image in Photoshop without background is quite simple. First, open your picture in Photoshop and then hold it and select the options key. Then toggle the subtraction mode and place it on the area you want to remove. In this way, you can crop your image in Photoshop without background.
How to make an image semi-transparent in Pixlr?
You can easily make your image semi-transparent in Pixlr with the help of several simple steps. These are as follows.
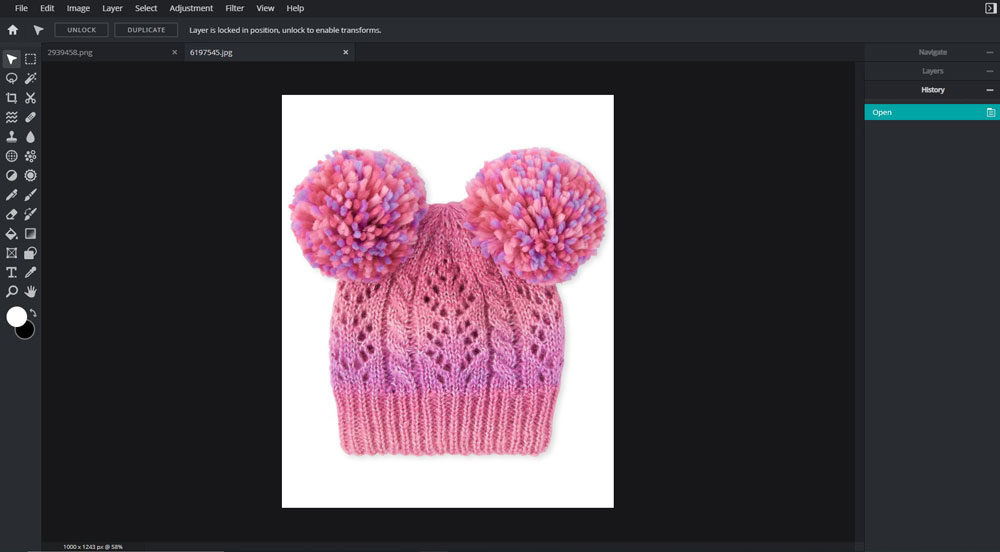
- Open the Pixlr editor and then open your image in the editor.
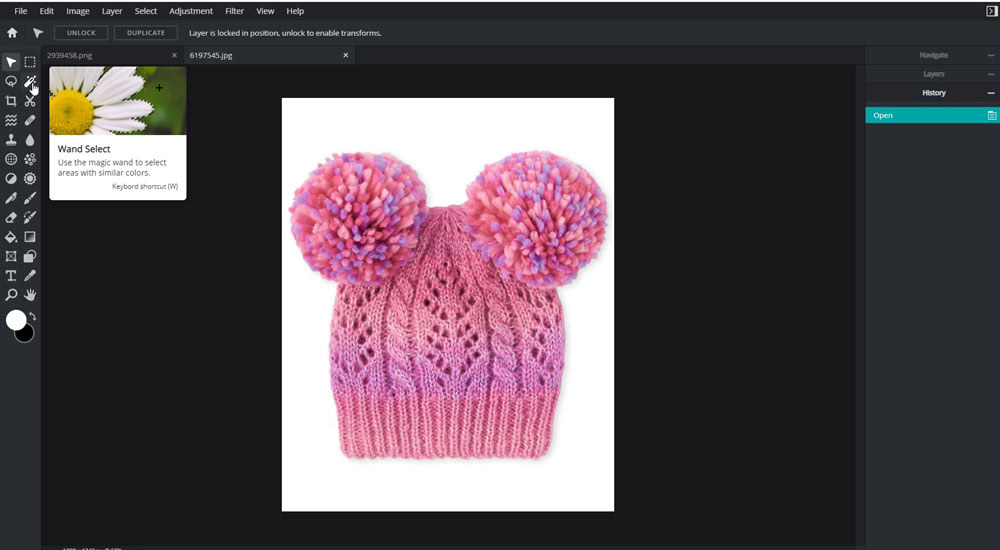
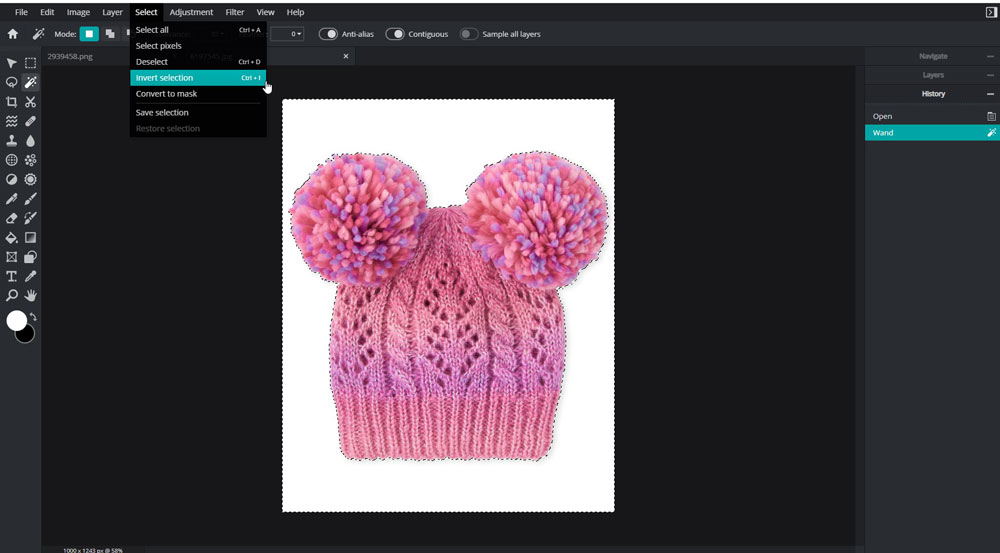
- First, select the magic wand tool by clicking on the sidebar. Then click on the surrounding area of the object, and you want to make it semi-transparent.
- Click on the top menu, and from the edit menu, select invert selection. Doing this will select the object you want to make semi-transparent; automatically.
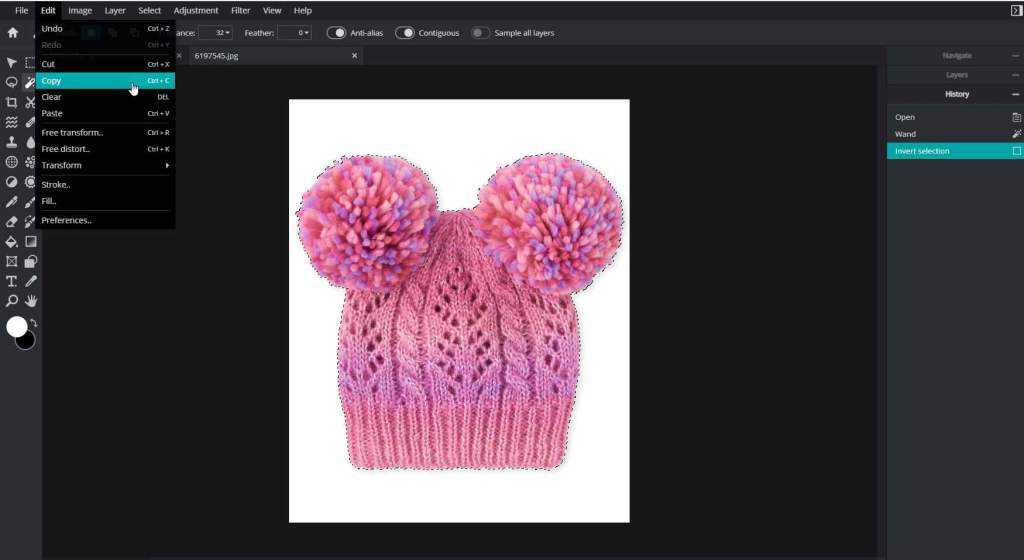
- Then, from the Edit menu, click on copy, and this will copy the object you want to make semi-transparent.
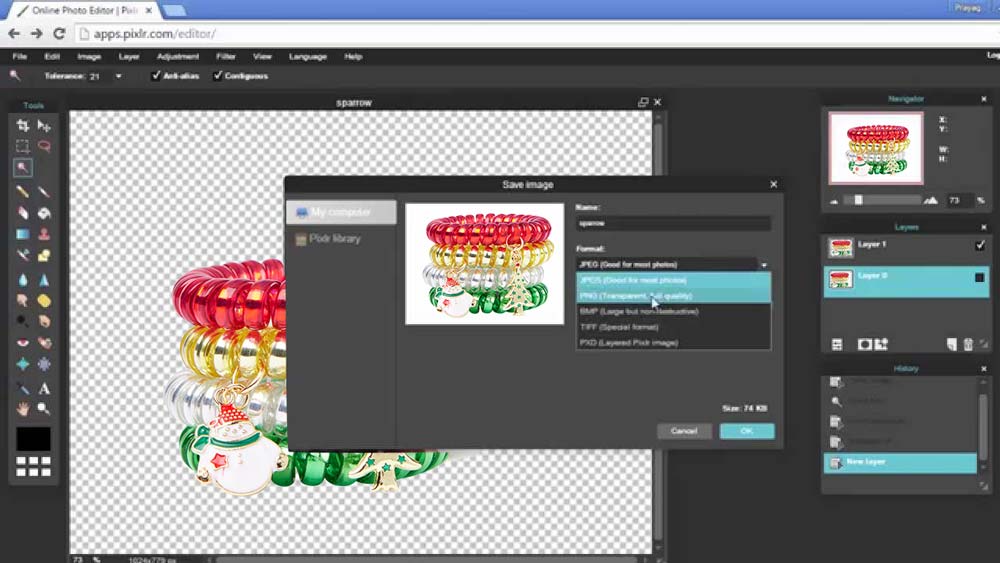
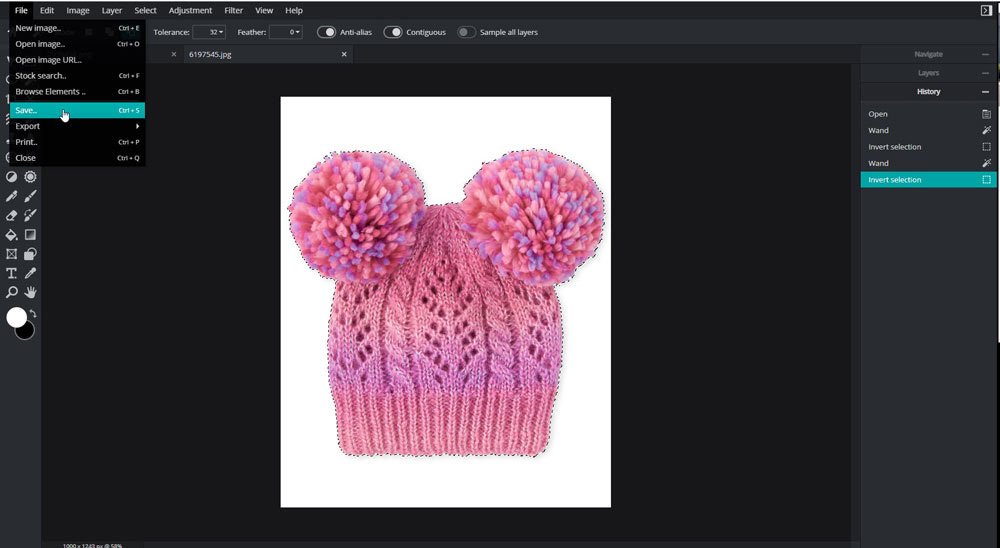
- Save the image in the PNG file format.
How to make an image transparent in Pixlr?
If you want to make an image transparent in Pixlr, follow the abovementioned steps to make the image semi-transparent. Just be sure while selecting the object. Select the whole image instead of choosing some of its parts. And repeat the same steps and save your image in the PNG file format.

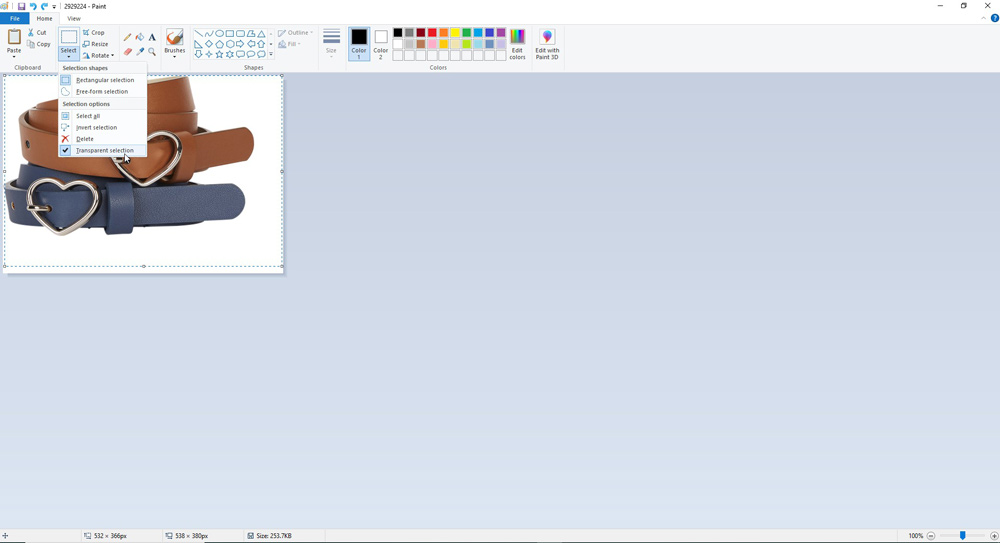
How to make an image semi-transparent in Paint?
Follow the steps written below to make an image semi-transparent in Paint.
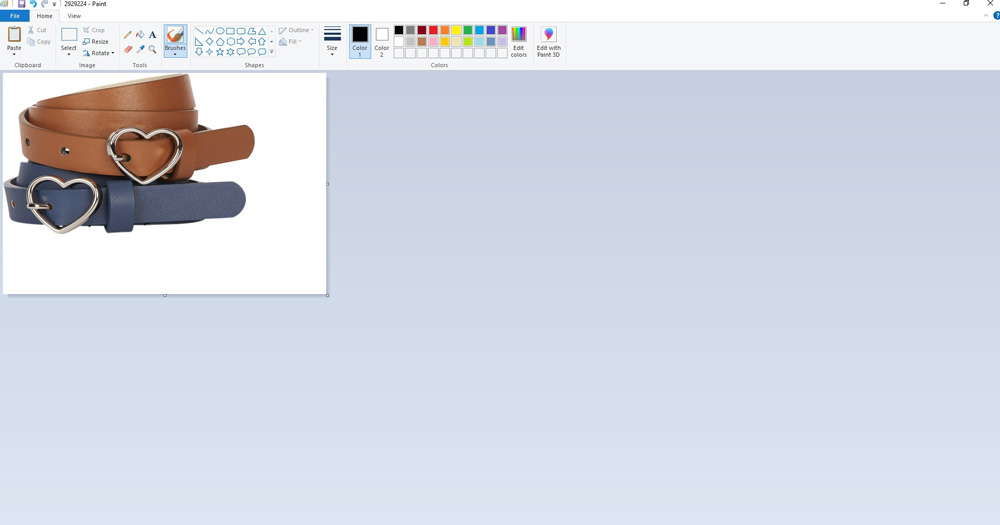
- Open the paint application and click on the top left corner.

- Open the picture you want to make semi-transparent.
- After the selection, drag it to fit the frame size and to make it semi-transparent.

- Press the delete key to delete the background to make the image transparent.
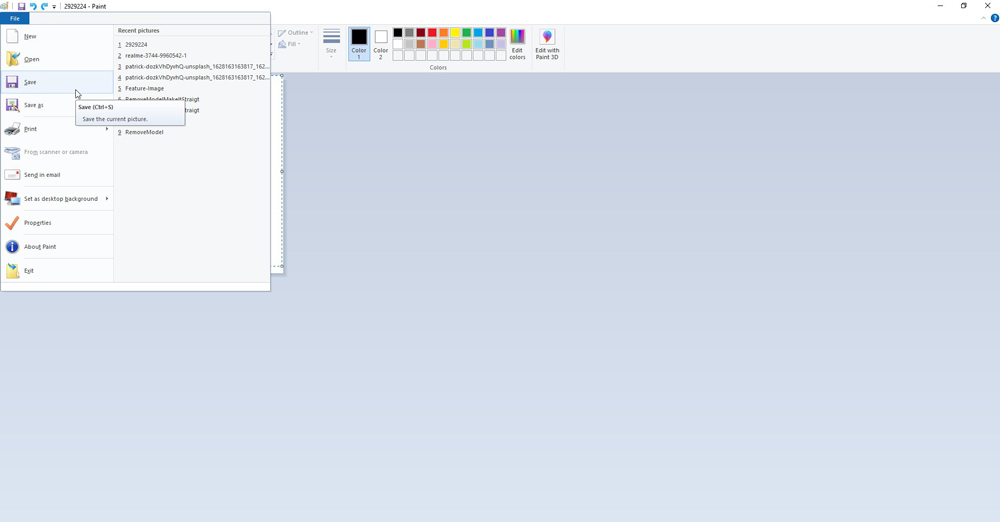
- Save your picture by exporting it, and your final image will be semi-transparent according to your requirement.
Conclusion:
The above-written article contains a thorough explanation of making something transparent in Photoshop, Pixlr, and Paint. Please give it a read, and hopefully, all your queries regarding the topic will be cleared within a few minutes.
